
Introduction: Mise en Place for Skin Care, Not Just Soufflés
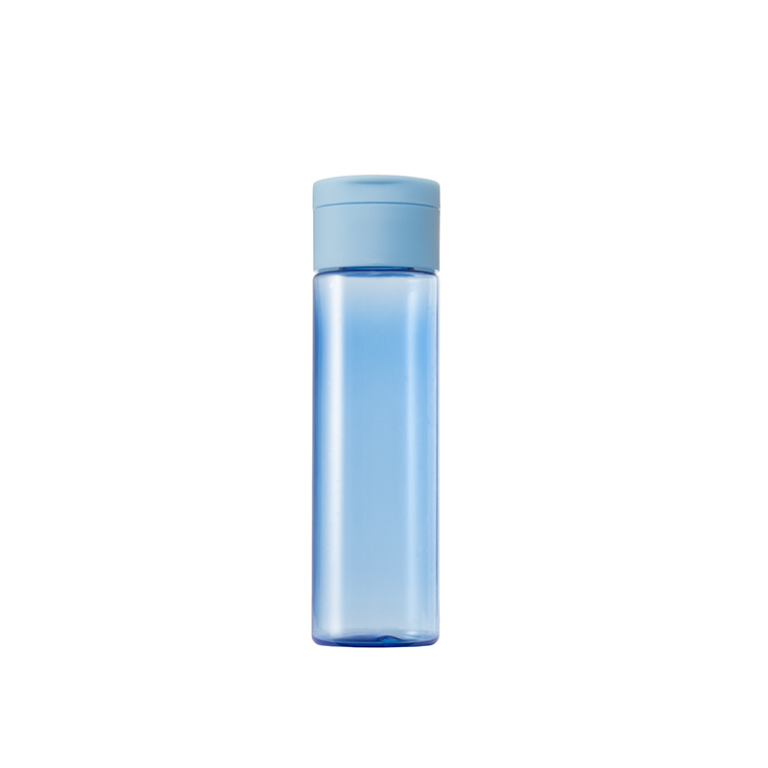
In a good kitchen, control starts with mise en place: clear labels, tight lids, steady heat. In skincare, the acrylic cream jar plays the same role for texture, aroma, and shelf life. Choosing the right acrylic cream jar manufacturer is like picking the best knife maker—precision shows up in every cut. On a busy fill line, micro-bubbles, loose torque, and a 0.2 mm seal gap can waste 3–5% of a batch. Teams keep logs; cross-threaded caps slow operators, and pigments scuff when handling goes rough (we’ve all seen it). So, do we keep turning the heat up or learn the pan—what actually causes the leak, the fade, the lift-off?
Think like a chef: first principles. It starts with injection molding limits, barrier properties, and torque specs, not just “nice gloss.” Gaskets creep under heat, threads deform under load, and UV can dull a finish faster than a damp towel dulls a crust. The question is simple, but not easy: which parts of the jar are built to hold up—and which are seasoning that burns fast? Let’s move from guesswork to a repeatable recipe.
What Traditional Fixes Miss in the Supply Kitchen
Where do leaks start?
Direct answer: leaks start in the tiny places. Tolerance stack-up between jar neck and cap threads changes contact pressure and starves the gasket. A too-tight torque spec micro-cracks the finish; too loose, and you lose seal integrity. UV stabilization can be thin in the wrong masterbatch and lead to stress whitening near the shoulder. Without ISO 22716 controls, a clean-looking jar can still pick up lint that rides into the seal—small, but enough to vent scent and dry a cream. Look, it’s simpler than you think: if you can’t measure it, you can’t plate it.

Traditional fixes try to cover the pan instead of lowering the flame. Thicker walls mask brittle resin blends; foil seals hide cap-perch wobble; extra polish from vacuum metallization can conceal gate blush but won’t correct thread pitch error. Cappers drift when grippers wear; conveyors vibrate out of sync with fill nozzles; AQL sampling lets intermittent defects slip by. And yes—color variation across batches isn’t only aesthetics, it flags thermal cycles that may change modulus at the rim. The old approach treats symptoms, not root cause. The better recipe aligns torque, liner compression, and thread geometry first, then decorates.
Next-Gen Builds and Practical Wins
What’s Next
Forward-looking, here’s the principle: decouple feel from function, and measure both. New runs pair a PMMA shell with a robust inner cup to manage stress, then use a dual-durometer liner for predictable compression under torque. Mold-flow tuning reduces sink near threads; laser-textured cavities cut scuffing without heavy coatings. Servo cappers with live torque feedback close the loop, while simple SPC charts flag drift before pallets stack. In one pilot, an acrylic face cream jar with a double-seal profile cut evaporative loss by half over six weeks—funny how that works, right? Small changes, big gains. And you still get that glassy look (without babying every case).
To choose well, use three kitchen-proof metrics. First, torque window stability: confirm cap removal torque stays within a tight band after heat, cold, and vibration; look for CpK ≥ 1.33 across lots. Second, barrier and finish integrity: UV exposure and humidity cycling should not shift color beyond ΔE 1.0 or raise weight loss beyond 1%—check liner compression set, too. Third, thread fit accuracy: verify pitch and lead with gauges, then run leak tests at pressure; no weeping after 24-hour inversion is the pass. Keep the recipe, measure the heat, taste the result. That’s how packaging earns its place on the line, and on the shelf—with steady hands and quiet numbers. NAVI Packaging