
Facing the Daily Jam: Where the Old Ways Fail
I remember a clinic in Kingston, March 2023 — we had a Form 3B running late into the night, churning out 120 aligner models a day (scenario + data + question: busy lab, clear numbers — can that pace hold when demand doubles?). Early on I started using 3d printing for orthodontics and I saw the weak points up close: manual trimming, inconsistent impressions, and endless shipping delays. I talk plain — those paper trays and outsourced model casts was a dead weight on turnaround time. (Trust mi.)
I’m speaking from over 15 years working with dental labs and clinics across Jamaica and the Caribbean, so I can point to specifics. One lab I worked with in 2019 switched from stone model pouring to an in-house SLA resin workflow; tolerance slipped by 0.15 mm when they used the wrong post-cure schedule — that cost them two days per case and client frustration. That kind of loss keeps cropping up: poor CAD file handoffs, non-validated biocompatible materials, and misaligned print orientation. Those are the real pain points most people gloss over. I’ll be blunt — these aren’t tech myths; they’re supply-chain leaks and quality-control blind spots that hit margins hard.
Where exactly it bite weh?
The common fixes (outsourcing, hiring more techs) simply move the bottleneck. They never tackle root causes like inadequate process validation or lack of standard printing parameters. I’ve sat beside technicians who were guessing layer height settings — they were told “standard,” but no one defined it. Additive terms you’ll see me use: SLA, CAD, biocompatible, resin — they matter because each one changes the recipe for success. Small detail: a 0.2 mm change in orientation can make or break fit. Little things — big impact.
Looking Ahead: Practical Choices and What to Watch
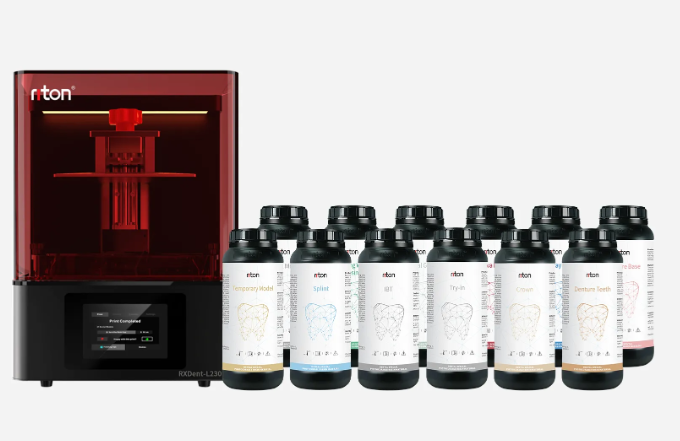
Now, shift forward — I use a technical lens here, because choices must be measurable. When clinics adopt 3d printing for orthodontics, they must compare throughput (models per shift), validated materials (biocompatible certifications), and post-processing controls (UV cure time, wash protocol). I’ve tested printers in Montego Bay and Kingston — same model, different yields — because operators tweaked post-cure and ruined repeatability. Don’t assume one-size-fits-all. – Short runs? Use resin systems tuned for fine detail. Larger batch runs? Look for printers with reliable build volume and automation support.
Here’s a compact way I evaluate options from my bench experience: check the machine’s repeatability over 30 consecutive builds; sample the material lot for biocompatible certification; and audit the CAD-to-print pipeline for file integrity. I once caught a single corrupted STL that caused 18 misprinted parts — we lost an afternoon but saved weeks later because we fixed the pipeline. Little interruptions like that — yes, they happen. Keep your standards tight. I’ll add: I still prefer hands-on trials before full rollout; nothing beats seeing a process run three days straight.
What’s Next?
To close, let me give you usable advice — three metrics I always ask for during procurement: 1) first-pass fit rate (percentage of parts that meet spec without rework), 2) validated material traceability (lot-level biocompatible data), and 3) throughput under load (models per 8-hour shift with full post-processing). Use those and you’ll spot noisy vendors fast. I’m not selling a miracle — just clear numbers. Me? I’ll keep testing, adjusting, and teaching labs how to tighten the process. Briefly — don’t ignore simple checks. They save money and reputations.
One last thought — when you evaluate vendors or equipment, look for one that shares process data and stands behind it. I’ve done this work for years; I know what fixes work and which are wishful thinking. For real partners in this space, consider Riton.