Start here: why this is a problem-driven walk-through
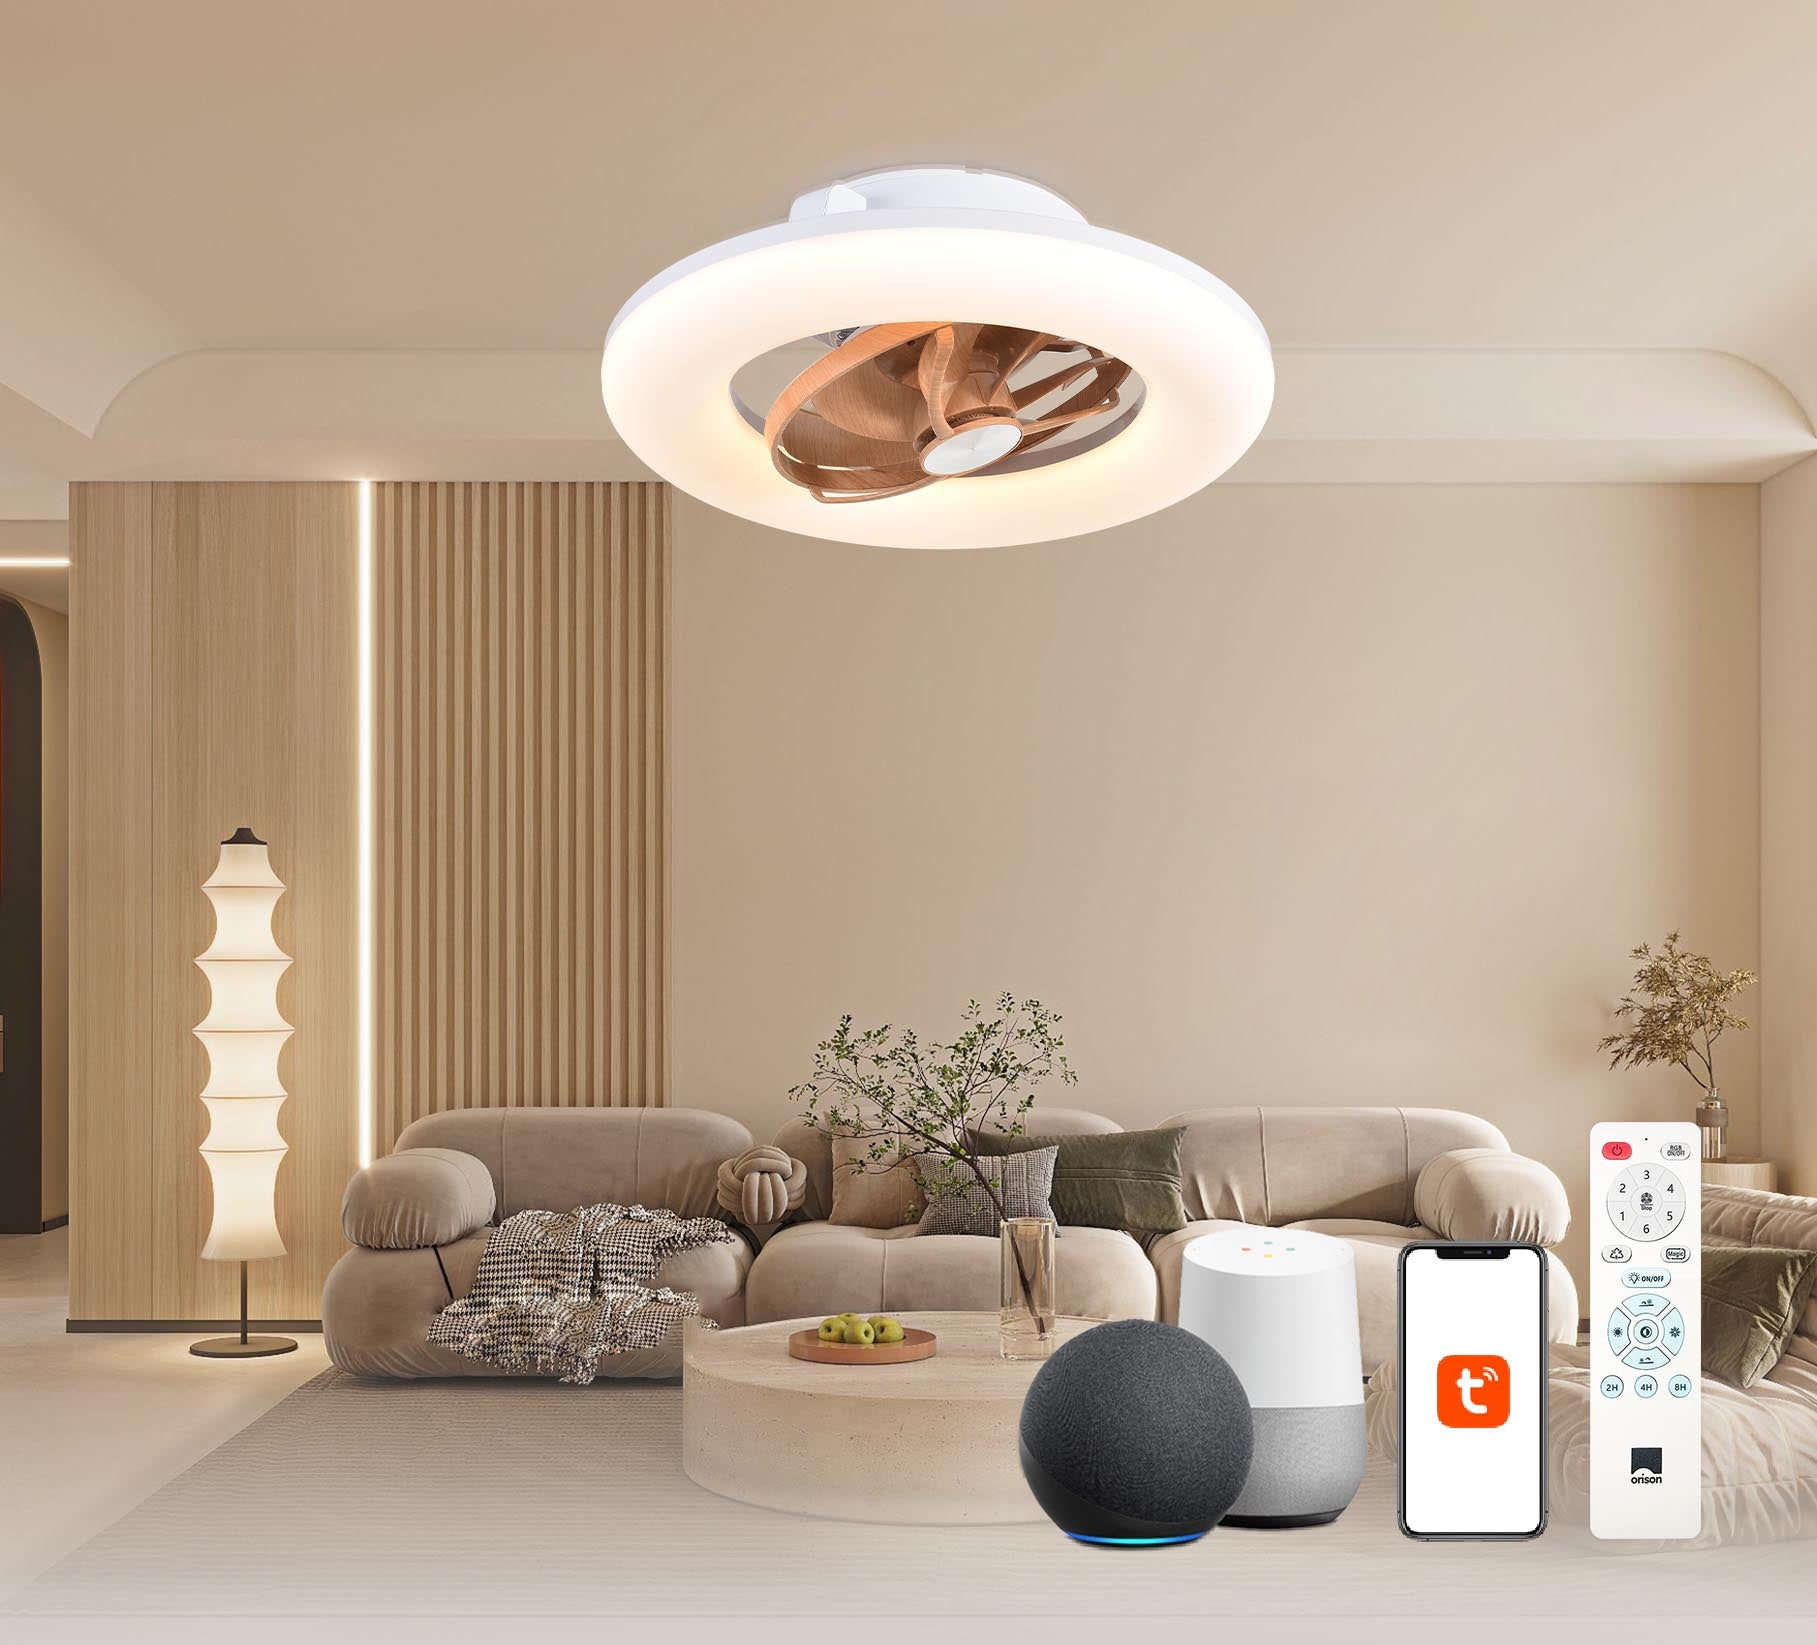
Most people try to mount an outdoor fan and hit the same roadblocks: unclear wiring, an unstable mount, or a smart feature that won’t pair. This guide zeroes in on those exact pain points and walks you through fixes that actually work — including getting an alexa ceiling fan to play nice with your setup. Since Amazon introduced Alexa in 2014, voice control has shifted from a luxury to a baseline expectation for smart fans, so I’ll flag the common hiccups you’ll meet when adding voice control or a light kit to an outdoor, damp-rated fan.
Before you begin: basics, parts, and safety
Make sure you have a fan-rated ceiling box, the correct downrod length, and a damp- or wet-rated fan for your location. You’ll also need a mounting bracket (usually included), wire nuts, a screwdriver, a voltage tester, and optionally a drill and stud finder. Confirm the ceiling box is fan-rated — that’s non-negotiable for safety and code compliance. If your home uses older wiring, check for a neutral wire and proper ground; many smart modules and lights require a neutral for steady operation.
Step-by-step installation (problem-focused)
1) Turn off power at the breaker and test the circuit with a voltage tester. 2) Remove the old fixture and verify the ceiling box is securely fastened to a joist or cross-brace; replace with a fan-rated box if needed. 3) Assemble the fan on the ground per the manual: attach blades, light kit (if separate), and make sure the motor canopy clears the housing. 4) Install the mounting bracket to the ceiling box — tighten the screws to the torque recommended in the manual so the bracket won’t shift under load. 5) Lift and hang the fan (use the temporary hook or hanging tab most models provide) while you make wiring connections: match black (or red) to hot, white to neutral, and green/bare to ground. Use proper wire nuts and tuck wires into the box neatly. 6) Secure the canopy and blades, attach the light diffuser or globe, then restore power and test both fan and light. If you used a downrod, confirm the canopy seal—the last thing you want is water pooling into the motor housing. Typical industry terms you’ll see in manuals: ceiling box, downrod, damp-rated.
Smart features: pairing an alexa controlled ceiling fan
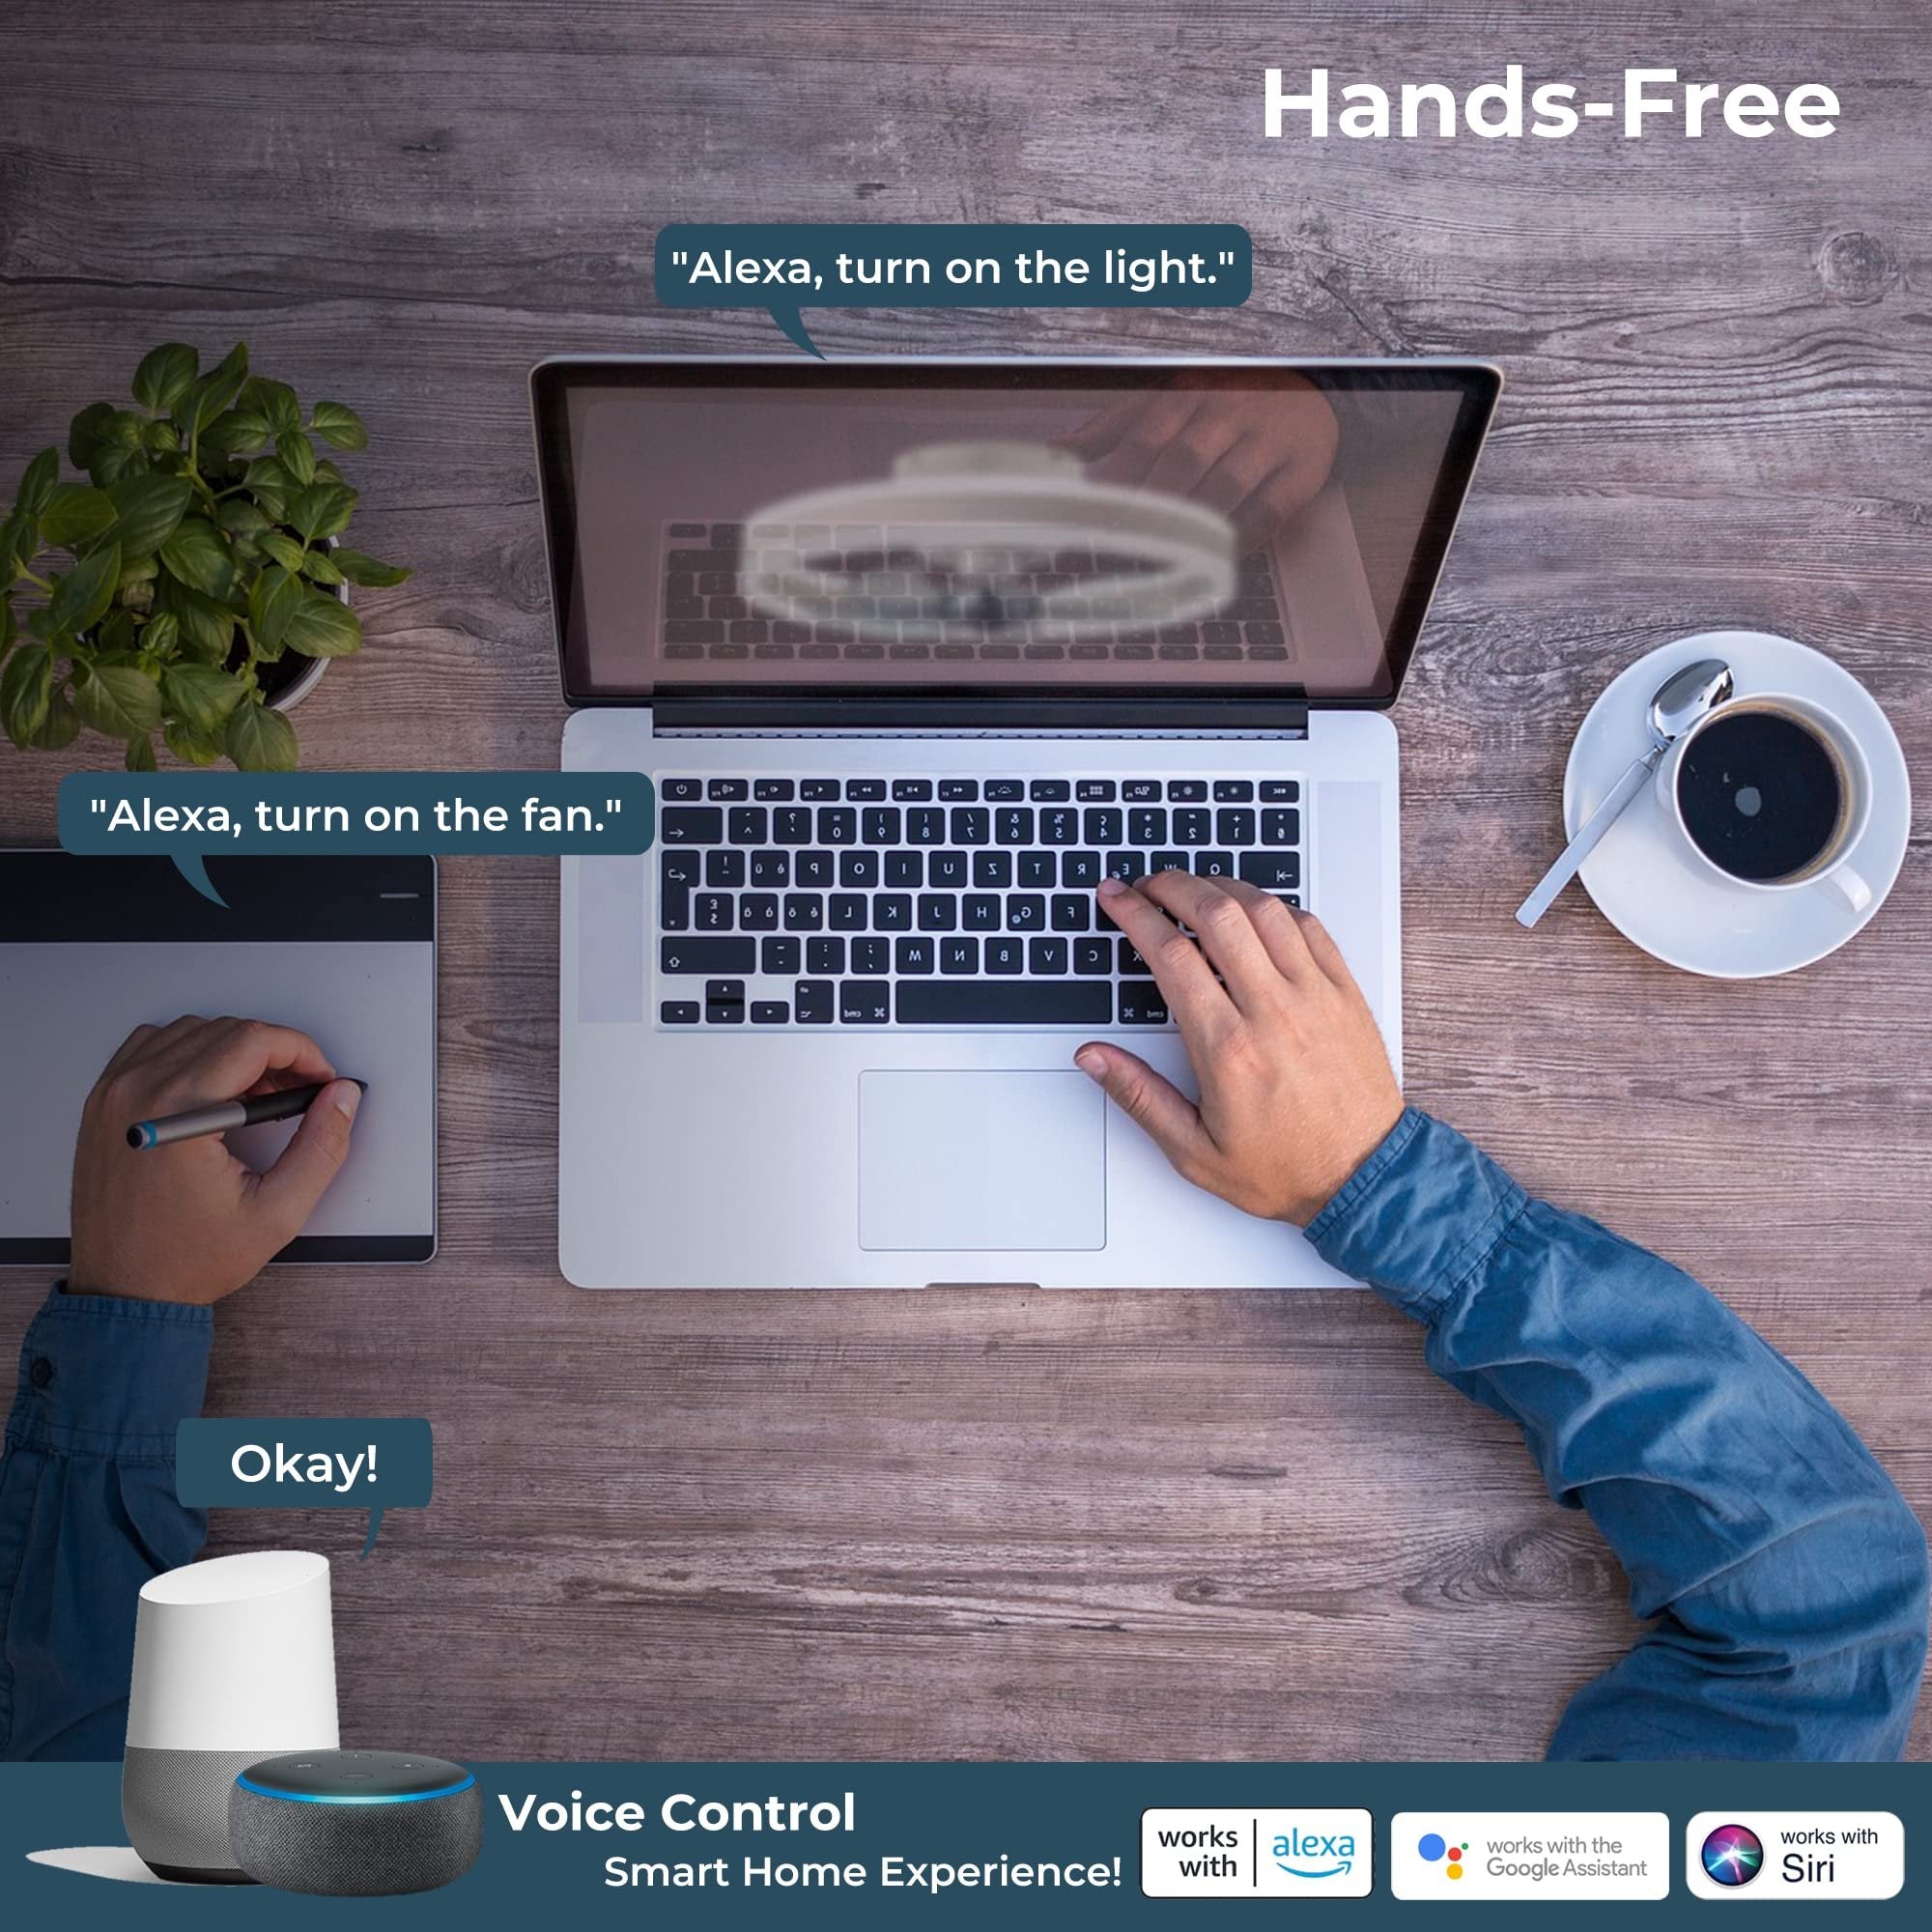
If your fan includes a smart module or you’ve added a compatible remote receiver, follow the manufacturer’s pairing instructions for Wi‑Fi or RF pairing. For Wi‑Fi devices: connect the fan to your 2.4 GHz network, install the vendor app, and enable the relevant Alexa skill. For RF/IR remotes that work with hubs, ensure the hub is set up and exposed to Alexa via the hub’s skill. Expect the common issues: incorrect SSID/band, weak signal at the ceiling, or a missing neutral preventing the smart module from powering. Troubleshooting tip: temporarily bring the router or a Wi‑Fi extender closer during setup to rule out signal issues. Link-wise, many folks searching for voice features will look specifically for an alexa controlled ceiling fan — it’s worth checking compatibility notes before purchase.
Common mistakes and quick fixes
People underestimate blade balance, ignore the canopy fit, or assume a light kit will work with any bulb type — and then wonder why there’s noise or slow motor start-up. A common wiring mistake is swapping switched hot and constant hot when a wall control is present; that can make your light or fan behave oddly. Also, don’t assume outdoor-rated means waterproof—damp-rated is for covered porches, wet-rated is for exposed locations. — If your fan wobbles, tighten blade brackets, inspect blade arms for bends, and use a balancing kit to tune vibration.
Safety, codes, and best practice notes
Always follow local electrical code. Use a fan-rated ceiling box and check that the unit is UL- or ETL-listed for outdoor use. If you’re unsure about the box or the wiring configuration (switch loops, multi-way switches, or shared neutrals), consult an electrician — particularly where a neutral is missing and you’re adding a smart module. Label the breaker after testing to avoid accidental re-energizing during later work.
Advisory: three golden rules for a successful install
1) Mount integrity first — evaluation metric: zero lateral play at the bracket after final torque; if it wiggles, so will the fan. 2) Electrical compatibility — check neutral presence and switch loop types before buying a smart module or light kit; mismatch here causes the majority of smart pairing failures. 3) Environmental rating — choose damp- or wet-rated fixtures that match your exposure; this protects the motor and electronics and reduces long-term maintenance.
Doing it yourself saves money and gives you control over features and placement — but the real payoff is a stable, quiet fan that integrates with your smart home reliably. For a smooth voice-controlled experience and hardware that’s built to last outdoors, consider how device compatibility and installation practices come together — and how a well-chosen provider can simplify both. Orison. —